The Heartland Daily

Recipes and kitchen notes by Heather Lindgren, a home cook and baker in Stillwater, Minnesota

From a Minnesota kitchen

Easy from-scratch recipes, Midwest comfort food and treats

Hotdish and wild rice soup, pans of bars, flaky pies and my Swedish grandmother’s holiday cookies, written so anyone can follow them. Measurements are American, with Celsius in parentheses.

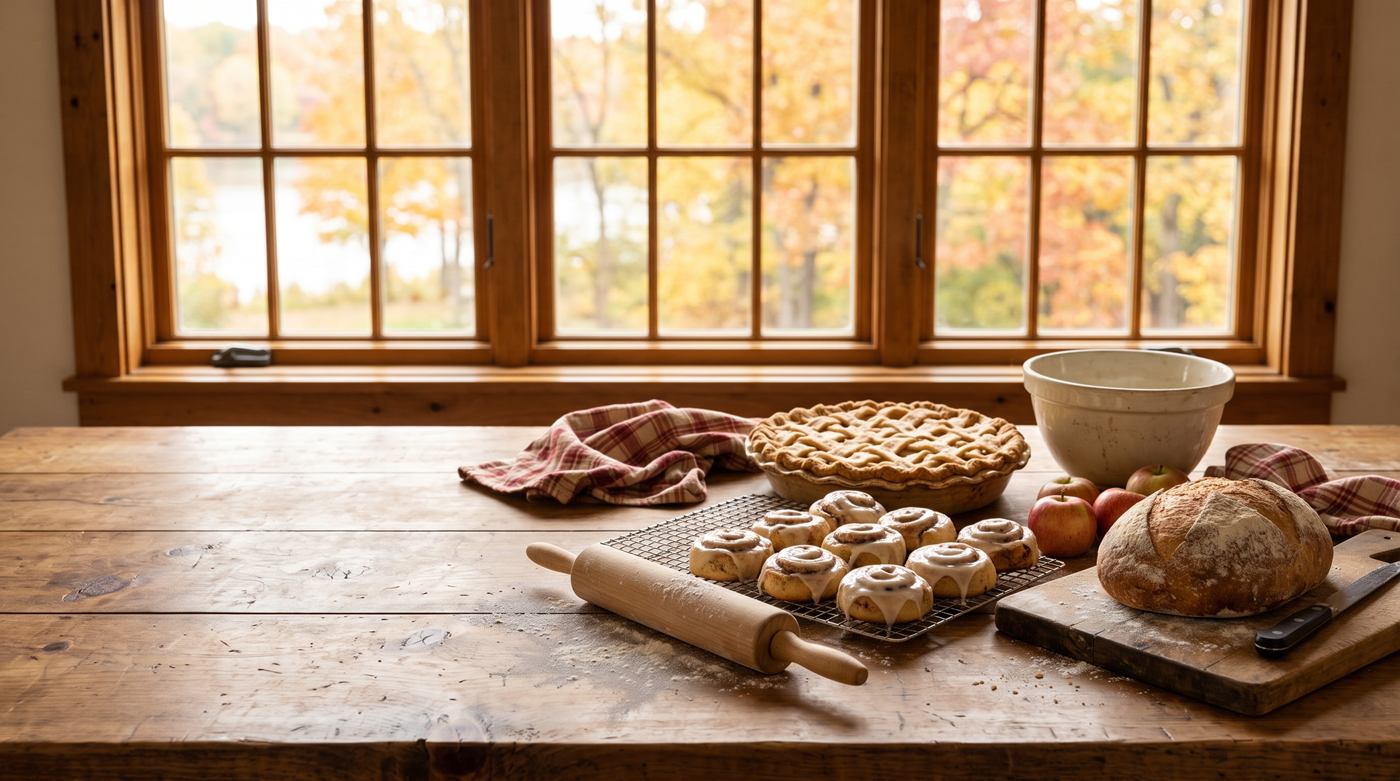
A farmhouse kitchen table by a window in autumn, with a lattice-top apple pie, glazed cinnamon rolls and a loaf of homemade bread.

Thanksgiving Thursday, November 26. See the make-ahead plan

Start here

  • Pies & Bars

    Apple crisp

    No crust, no mixer: the first dessert I teach anyone who says they can’t bake.

  • Suppers

    Grandma’s Swedish meatballs

    Small, tender and swimming in a creamy brown gravy, with a pinch of allspice.

  • Suppers

    Chicken wild rice soup

    If Minnesota had an official soup, this creamy bowl would be it.

  • Pies & Bars

    Pumpkin bars

    One pan feeds a whole potluck, and they’re even better on day two.

Thursday, November 26

Thanksgiving

A calm Thanksgiving is mostly a matter of what you finish ahead. Start with the plan, then work through the turkey, the sides and the pies.

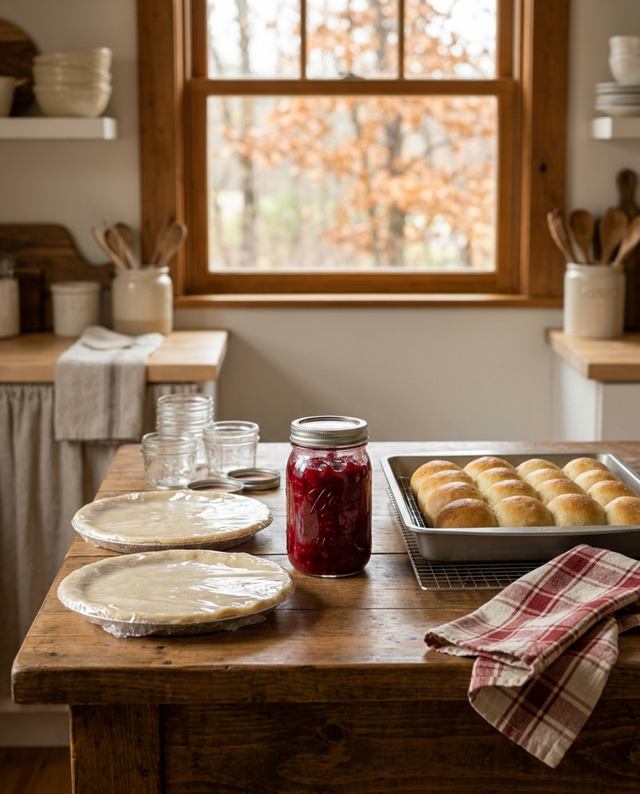
Thanksgiving prep done ahead on a kitchen counter: wrapped disks of pie dough, a jar of cranberry sauce and dinner rolls cooling on a rack.

Plan ahead

The Thanksgiving make-ahead plan

The secret to a calm Thanksgiving is a freezer full of finished jobs. Here’s what can be done weeks and days ahead, so that on the day all that’s left is the turkey, the gravy and a few warm sides.

Up to a month ahead, in the freezer

  • Pie dough, wrapped in disks. Thaw it overnight in the fridge before rolling.
  • Dinner rolls, baked and cooled. Reheat them wrapped in foil.
  • Cranberry sauce. It also keeps about 2 weeks in the fridge.

The weekend before

  • Move a frozen turkey to the fridge. It needs about 1 day for every 4 to 5 pounds (see the thawing chart).
  • Cube the bread for stuffing and let it dry out on a sheet pan.

One to two days ahead

  • Mashed potatoes, ready to reheat.
  • Pumpkin and pecan pies, baked and kept in the fridge.
  • Chop the onions and celery, and set the table.

On Thanksgiving Day, all that’s left is the turkey, the gravy and a few warm sides.
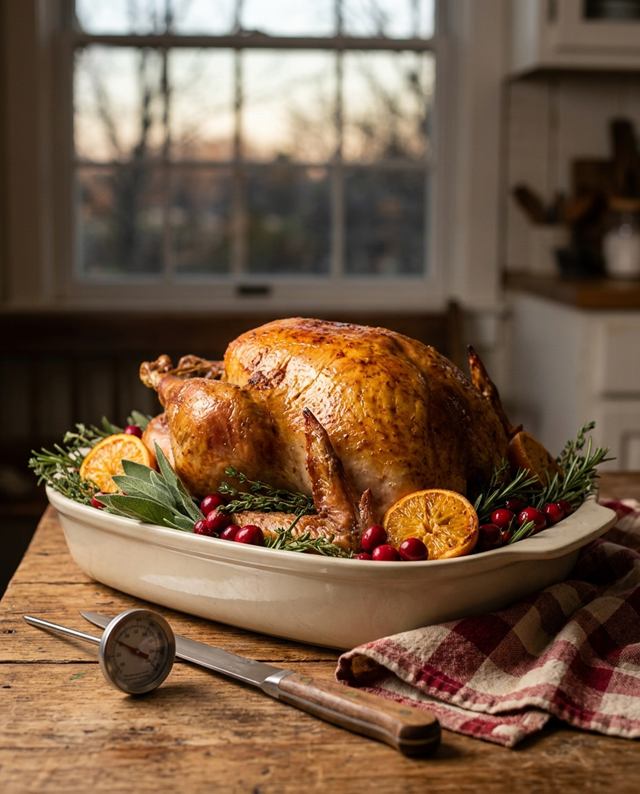
A golden roast turkey on a cream platter with fresh herbs and orange halves, next to a meat thermometer and a carving knife.

Food safety

How long to thaw a turkey, and how to do it safely

Thawing in the refrigerator is the safest way, and it takes longer than most people think: about 1 day for every 4 to 5 pounds. If your turkey is frozen, count back from Thanksgiving and move it to the fridge in time.

Refrigerator thawing times
Turkey weightTime in the fridge
4 to 12 lb1 to 3 days
12 to 16 lb3 to 4 days
16 to 20 lb4 to 5 days
20 to 24 lb5 to 6 days

The rules I always follow

  • Leave the turkey in its wrapper, on a rimmed tray on the bottom shelf, so nothing drips onto other food.
  • Never thaw it on the counter.
  • Running behind? Use cold water: keep the turkey in its wrapper or a leak-proof bag, submerge it in cold water and change the water every 30 minutes. Allow about 30 minutes per pound, and cook it as soon as it’s thawed.
  • A turkey thawed in the fridge keeps 1 to 2 more days before cooking.
  • It’s done at 165°F (74°C), checked with a food thermometer in the thickest part of the breast, the innermost part of the thigh and the wing.

These times follow the U.S. Department of Agriculture’s guidance. Questions on the day? Call the USDA Meat and Poultry Hotline at 1-888-MPHotline (1-888-674-6854) or visit fsis.usda.gov.

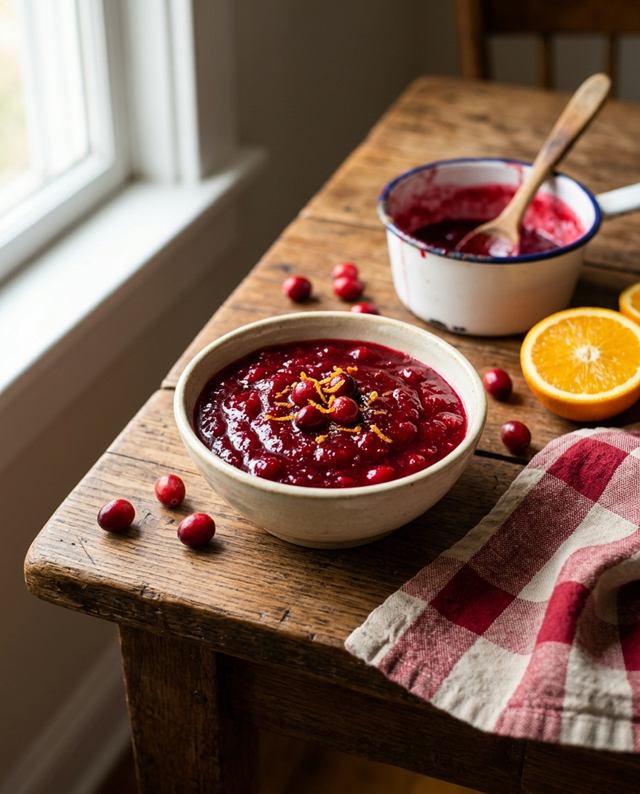
A bowl of glossy homemade cranberry sauce with orange zest, with fresh cranberries and half an orange on a wooden table.

Recipe · Make ahead

Cranberry sauce with 3 ingredients

Homemade cranberry sauce needs only cranberries, sugar and water, and it keeps about 2 weeks in the fridge, so you can make it early and cross it off the list.

A little Wisconsin pride, from where I grew up: Wisconsin grows more cranberries than any other state, more than half of the country’s crop. Ripe cranberries have tiny air pockets inside, so they float, and that’s why the bogs are flooded at harvest time.

  • Makes about 2 cups
  • Simmers about 10 minutes
  • Keeps 2 weeks in the fridge
Show the recipeHide the recipe: cranberry sauce

Ingredients

  • 1 bag (12 oz) fresh or frozen cranberries
  • 1 cup sugar
  • 1 cup water (or orange juice)

Method

  1. Bring the sugar and water to a boil in a saucepan, stirring until the sugar dissolves.
  2. Add the cranberries and bring back to a boil. Lower the heat and simmer about 10 minutes, until most of the berries have popped.
  3. Take it off the heat. It will look loose, but it thickens as it cools.

Optional: a little orange zest, a pinch of salt or a cinnamon stick while it simmers.

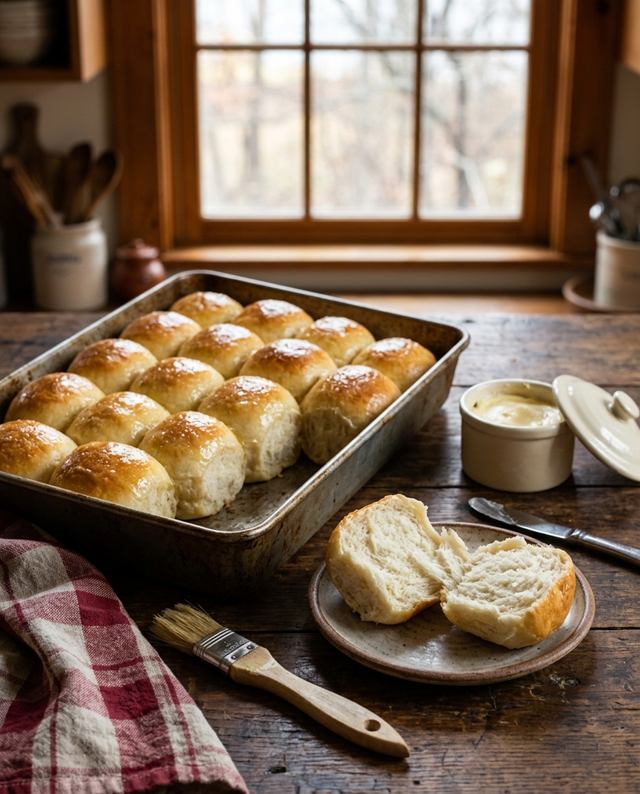
A pan of fifteen golden dinner rolls brushed with butter, with one roll split open to show the soft inside.

Recipe · Bake ahead

Soft dinner rolls to bake now and freeze

Bake them ahead, freeze them, and on Thanksgiving they come out of the oven tasting like you made them that morning.

  • Makes 15
  • 9x13-inch pan
  • 375°F (190°C)
  • Freezes up to a month
Show the recipeHide the recipe: dinner rolls

Ingredients

  • 1 cup warm milk (about 110°F/43°C)
  • 2¼ tsp (1 packet) active dry or instant yeast
  • ¼ cup sugar
  • 1 egg, at room temperature
  • ¼ cup (½ stick) butter, softened, plus melted butter for brushing
  • 1 tsp salt
  • About 3½ cups all-purpose flour

Method

  1. Stir the yeast and a pinch of the sugar into the warm milk. Wait 5 minutes, until foamy.
  2. Add the rest of the sugar, the egg, butter, salt and 3 cups of the flour, and mix. Add more flour, a little at a time, until the dough is soft and only slightly sticky.
  3. Knead about 8 minutes by hand (5 with a stand mixer), until smooth and stretchy.
  4. Cover and let rise in a warm spot until doubled, 1 to 1½ hours.
  5. Divide into 15 pieces, roll each into a smooth ball and place them in the greased pan. Cover and let rise again until puffy, 30 to 45 minutes.
  6. Bake at 375°F (190°C) for 18 to 22 minutes, until golden. Brush with melted butter.

To freeze

Cool completely, wrap well and freeze for up to a month. On the day, thaw them on the counter, then warm them, wrapped in foil, at 350°F (175°C) for 10 to 15 minutes.

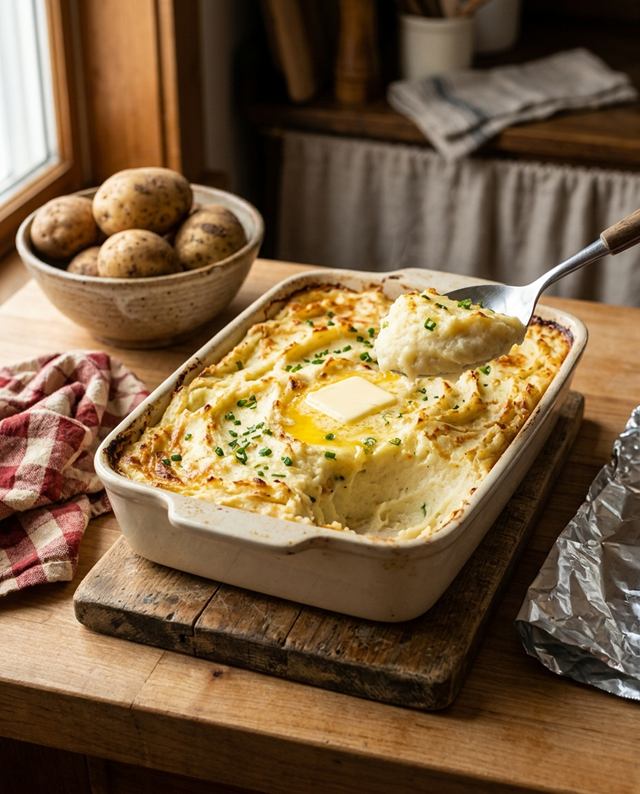
Baked mashed potatoes in a cream dish with golden peaks, melting butter and chives, a serving spoon lifting out a scoop.

Recipe · Make ahead

Make-ahead mashed potatoes

The best Thanksgiving trick I know: make the mashed potatoes two days early. Cream cheese and sour cream keep them rich and creamy after reheating, and on the day they go into the oven while the turkey rests, so the stovetop stays free for the gravy.

  • Serves 10 to 12
  • 9x13-inch dish
  • Up to 2 days ahead
Show the recipeHide the recipe: make-ahead mashed potatoes

Ingredients

  • 5 lb Yukon Gold or russet potatoes, peeled and cut into chunks
  • 8 oz cream cheese, softened
  • ½ cup sour cream
  • ½ cup (1 stick) butter, plus a little more for the top
  • ½ to 1 cup warm milk
  • Salt and pepper to taste

Method

  1. Cover the potatoes with cold, well-salted water. Bring to a boil and cook 15 to 20 minutes, until a fork slides in easily. Drain well.
  2. Mash with the cream cheese, sour cream and butter. Add milk until they’re as creamy as you like, and season.
  3. Spread in a buttered baking dish, let cool, cover and refrigerate for up to 2 days.
  4. On Thanksgiving, dot the top with butter and bake, covered, at 350°F (175°C) for 30 minutes. Uncover and bake 15 to 20 minutes more, until hot all the way through (165°F/74°C).
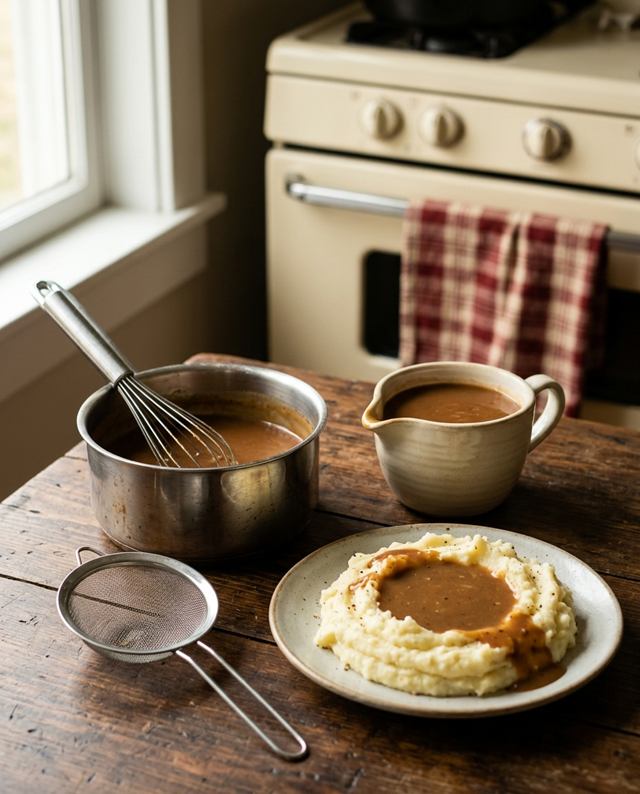
Smooth brown gravy in a small saucepan with a whisk, next to a gravy boat and mashed potatoes with a pool of gravy.

Technique

Smooth gravy, without the lumps

The ratio to remember: 2 tablespoons of fat plus 2 tablespoons of flour for every cup of broth.

How to make it

  1. Melt the fat (turkey drippings, butter or a mix) in a saucepan. Whisk in the flour and cook 1 to 2 minutes, until it smells toasty.
  2. Add warm broth a little at a time, whisking constantly. It will turn into a thick paste at first. Keep whisking and keep adding.
  3. Simmer 5 minutes, until it coats a spoon. Season at the end, because drippings can be salty.

If something goes wrong

  • Lumps: whisk hard, or pour it through a fine-mesh strainer. An immersion blender fixes it in seconds.
  • Too thin: simmer a little longer, or stir in 1 tablespoon of cornstarch mixed with 2 tablespoons of cold water and bring it back to a simmer.
  • Too thick: whisk in more warm broth.
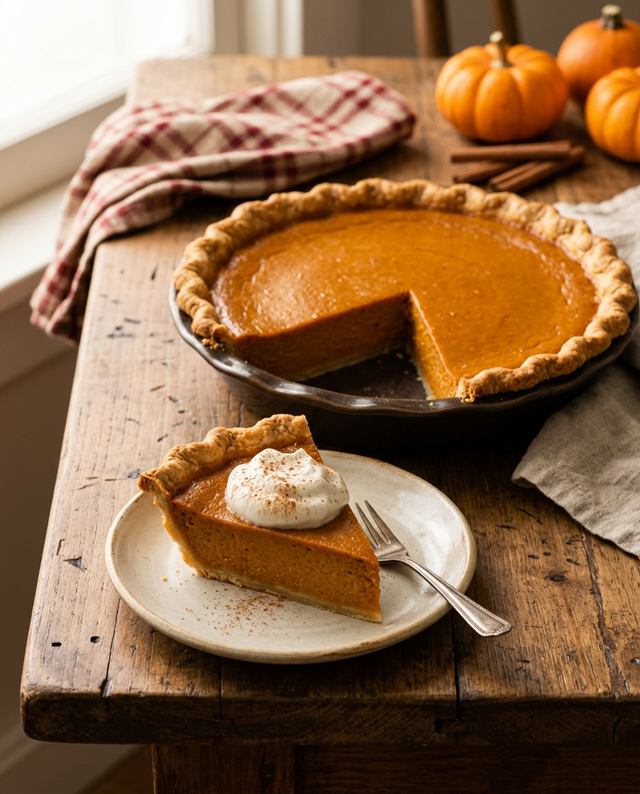
A smooth, crack-free pumpkin pie with a fluted crust, and a slice on a plate topped with whipped cream and cinnamon.

Technique

How to keep a pumpkin pie from cracking

Pumpkin pie is a custard, and custards crack when they bake too long or cool too fast. A crack isn’t a disaster, but it’s easy to prevent.

  • Whisk the filling by hand, just until smooth. Beating in lots of air makes it puff up in the oven, then sink and crack.
  • Take it out a little early. It’s ready when the edges are set and the center still jiggles slightly. A thermometer in the center should read about 175°F (79°C). It finishes setting as it cools.
  • Let it cool slowly on a rack, away from drafts, before it goes into the fridge.

Pumpkin pie is a great one to make ahead: bake it a day or two early and keep it covered in the refrigerator. And if it cracks anyway? That’s what whipped cream is for.

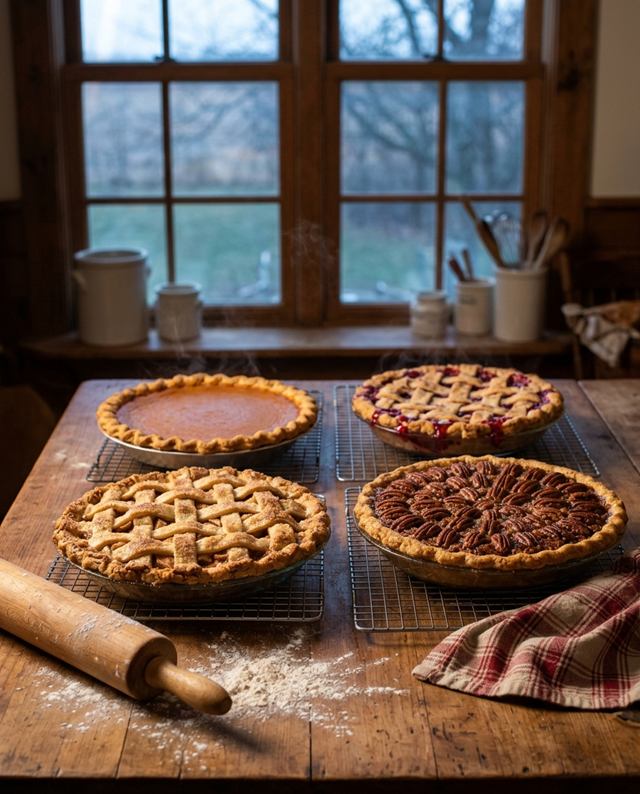
Four homemade pies cooling on racks by a kitchen window: lattice apple, pumpkin, pecan and lattice cherry.

Plan ahead

Pie day, and the real math of how many to bake

The day before Thanksgiving is pie day in my kitchen.

The official math: one pie for every 8 guests. The real math: one pie for every 8 guests, plus one for leftovers, plus one because somebody always says they don’t like pumpkin, plus one more just in case.

Baking the day before is smart, too. Pumpkin and pecan pies set up beautifully overnight (keep them in the fridge), and fruit pies are happy covered on the counter for up to 2 days.

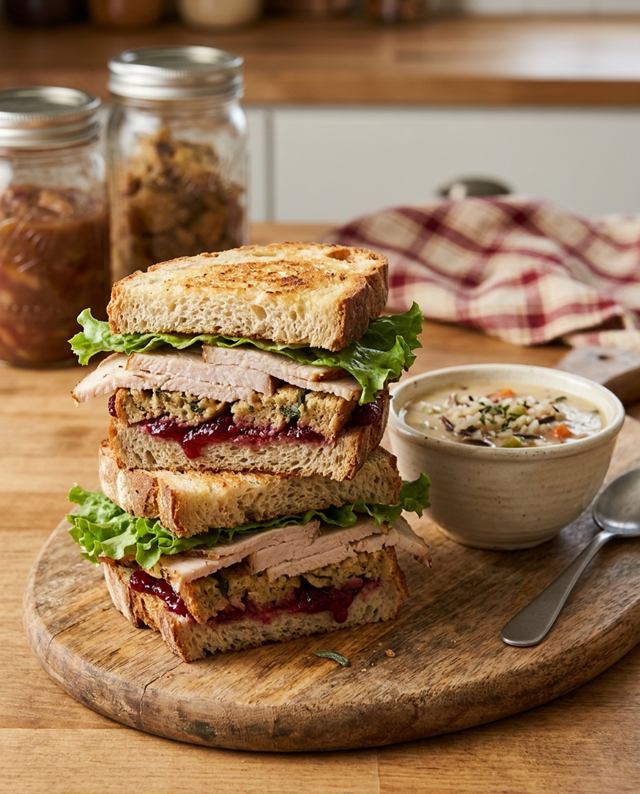
A day-after sandwich of turkey, stuffing and cranberry sauce on toasted bread, next to a bowl of creamy turkey wild rice soup.

Food safety

Thanksgiving leftovers: keep them safe and tasty

Leftovers might be the best part of Thanksgiving. A few rules keep them that way.

  • Get everything into the fridge within 2 hours of cooking.
  • Carve the turkey off the bone and store it in shallow containers, so it cools quickly.
  • Eat the leftovers within 3 to 4 days, which means by Monday.
  • Freeze anything you won’t eat by then. Turkey keeps its best quality in the freezer for 2 to 6 months.
  • Reheat leftovers to 165°F (74°C), and bring gravy to a full boil.

My favorite way to use leftover turkey is the wild rice soup, with turkey in place of the chicken. And the day-after sandwich at my house: turkey, stuffing and a spoonful of cranberry sauce on toasted bread.

Comfort food

Suppers

Midwest one-pot and one-pan suppers that feed a crowd and taste even better the next day.

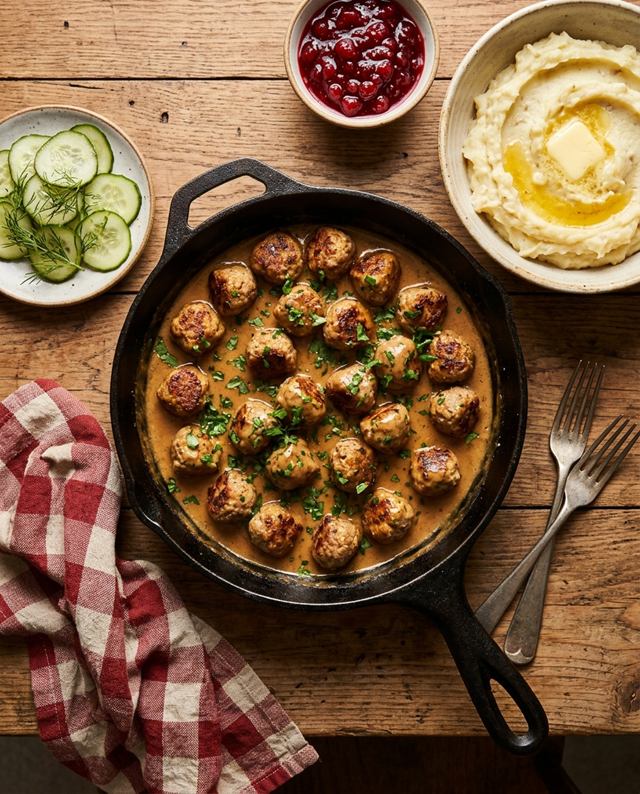
Small Swedish meatballs in a creamy gravy in a cast-iron skillet, with bowls of mashed potatoes and lingonberry jam.

Recipe · Family favorite

Grandma’s Swedish meatballs

Sunday supper at my grandmother’s table usually meant Swedish meatballs: small, tender and swimming in a creamy brown gravy. Her secret was a pinch of allspice and nutmeg, and she always said a proper meatball should fit on a fork with a bite of potato.

  • Serves 4 to 6
  • About 36 meatballs
  • One large skillet
Show the recipeHide the recipe: Swedish meatballs

Ingredients

For the meatballs

  • ½ cup plain breadcrumbs
  • ⅓ cup milk
  • 1 lb ground beef
  • ½ lb ground pork
  • 1 egg
  • ½ small onion, grated or very finely chopped
  • 1 tsp salt
  • ½ tsp black pepper
  • ¼ tsp allspice
  • ¼ tsp nutmeg
  • 2 tbsp butter, for browning

For the gravy

  • 3 tbsp butter
  • 3 tbsp all-purpose flour
  • 2 cups beef broth
  • ½ cup heavy cream
  • Salt and pepper to taste

Method

  1. Soak the breadcrumbs in the milk for 5 minutes. Add the beef, pork, egg, onion and seasonings, and mix gently with your hands.
  2. Roll into 1-inch balls. You’ll get about 36.
  3. Brown them in the butter in a large skillet, in batches, turning often, about 8 to 10 minutes per batch, until cooked through (160°F/71°C in the center). Set aside.
  4. In the same skillet, melt the 3 tbsp butter, whisk in the flour and cook 1 minute. Slowly whisk in the broth, then the cream, and simmer until thickened.
  5. Return the meatballs to the skillet and simmer 5 minutes more.

Serve with mashed potatoes and lingonberry jam. Cranberry sauce works in a pinch.

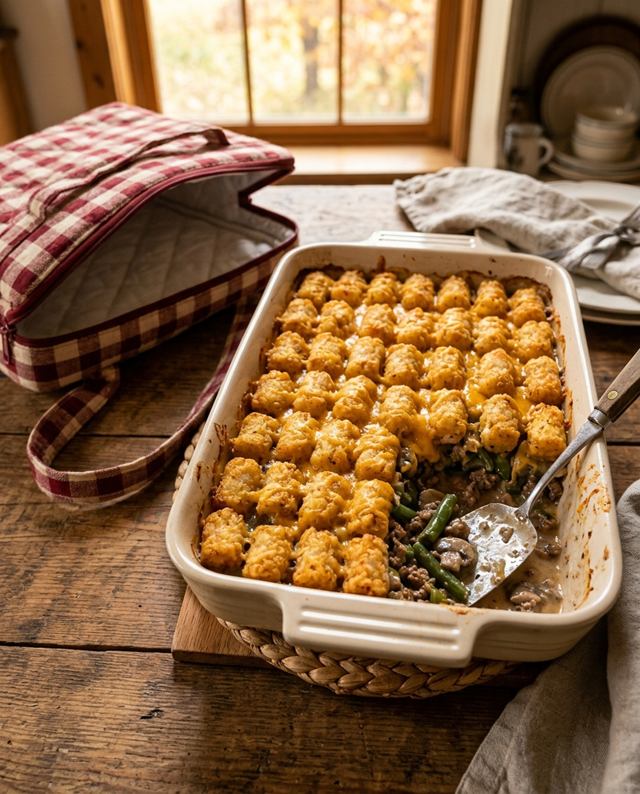
Tater tot hotdish in a baking dish, with neat rows of golden tots and a corner scooped out to show beef, green beans and creamy sauce.

Recipe · Minnesota classic

Tater tot hotdish

In Minnesota, this is not a casserole. It’s a hotdish. The difference is mostly geography: a hotdish is a one-pan supper that brings together meat, vegetables, something creamy and something starchy, baked until bubbly. It shows up at potlucks, family reunions, new-baby visits and every “thinking of you” moment in between, and the queen of them all is tater tot hotdish.

  • Serves 6 to 8
  • 9x13-inch dish
  • 375°F (190°C)
Show the recipeHide the recipe: tater tot hotdish

Ingredients

  • 1½ lb ground beef
  • 1 medium onion, chopped
  • 1 tsp salt and ½ tsp black pepper
  • 2 cans (10.5 oz each) condensed cream of mushroom soup
  • ½ cup milk
  • 3 cups frozen green beans or mixed vegetables
  • 1½ cups shredded cheddar cheese
  • About 2 lb frozen tater tots

Method

  1. Heat the oven to 375°F (190°C).
  2. Brown the beef with the onion, salt and pepper until cooked through. Drain the fat.
  3. Stir in the soup, milk and vegetables, and spread it in the baking dish.
  4. Sprinkle with the cheese, then cover the top with tater tots in neat rows (the neat rows are tradition).
  5. Bake 40 to 45 minutes, until the tots are golden and crisp and the filling is bubbling.
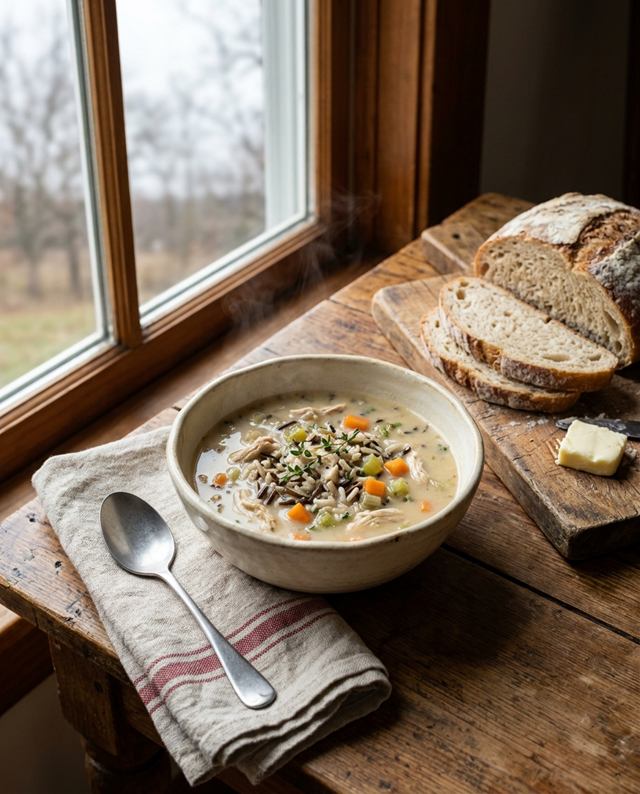
A bowl of creamy chicken wild rice soup with carrots, celery and thyme, next to slices of homemade bread.

Recipe · Minnesota classic

Creamy chicken wild rice soup

If Minnesota had an official soup, this would be it. It’s on the table here from the first cold snap until spring. And wild rice isn’t really rice: it’s the seed of a native aquatic grass, called manoomin in Ojibwe, and it has been Minnesota’s official state grain since 1977.

  • Serves 6
  • One large pot
  • About 30 minutes with cooked rice
Show the recipeHide the recipe: chicken wild rice soup

Ingredients

  • 4 tbsp butter
  • 1 medium onion, diced
  • 2 carrots, diced
  • 2 celery stalks, diced
  • 2 cloves garlic, minced
  • ⅓ cup all-purpose flour
  • 1 tsp dried thyme
  • 6 cups chicken broth
  • 2½ cups cooked wild rice (about ¾ cup uncooked)
  • 2 cups cooked chicken, shredded
  • 1 cup heavy cream or half-and-half
  • Salt and pepper to taste

Method

  1. Melt the butter in a large pot over medium heat. Cook the onion, carrots and celery for about 8 minutes, until soft. Add the garlic for 1 minute.
  2. Stir in the flour and thyme and cook 2 minutes.
  3. Slowly whisk in the broth. Simmer 15 minutes, until the vegetables are tender and the soup thickens a little.
  4. Stir in the wild rice, chicken and cream. Heat through without boiling, and season to taste.

Cook the wild rice separately. It takes 40 to 60 minutes, depending on the kind, and if it cooks in the soup it drinks up all the broth. After Thanksgiving, leftover turkey works in place of the chicken.

Baking

Pies & bars

In the Midwest, we don’t bring a cake for a crowd. We bring a pan of bars, or a pie with a flaky all-butter crust.

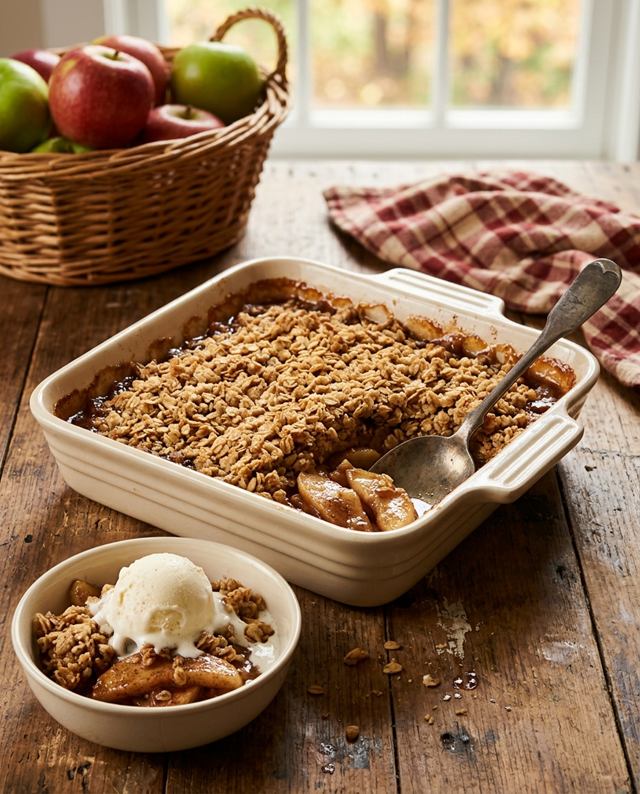
Apple crisp with a golden oat topping in a cream baking dish, and a serving in a bowl with a scoop of vanilla ice cream.

Recipe · Easy

Apple crisp

If you can stir, you can make apple crisp. It’s the first dessert I teach anyone who tells me they “can’t bake”: no crust to roll, no mixer, and the whole house smells like fall.

  • Serves 6 to 8
  • 9x9-inch (or 2-quart) dish
  • 350°F (175°C)
  • 45 to 50 minutes in the oven
Show the recipeHide the recipe: apple crisp

Ingredients

For the apples

  • 6 medium apples, peeled and thinly sliced (about 6 cups)
  • 2 tbsp sugar
  • 1 tbsp all-purpose flour
  • 1 tsp cinnamon
  • 1 tbsp lemon juice

For the topping

  • ¾ cup all-purpose flour
  • ¾ cup old-fashioned oats
  • ¾ cup packed brown sugar
  • 1 tsp cinnamon
  • ¼ tsp salt
  • ½ cup (1 stick) butter, melted

Method

  1. Heat the oven to 350°F (175°C) and butter the baking dish.
  2. Toss the apples with the sugar, flour, cinnamon and lemon juice. Spread them in the dish.
  3. Stir the topping ingredients together with a fork until clumpy, and scatter it over the apples.
  4. Bake 45 to 50 minutes, until the top is golden and the juices bubble at the edges.

Serve it warm. Vanilla ice cream is optional, but highly recommended.

Minnesota fun fact: the Honeycrisp apple was developed at the University of Minnesota, and it’s our official state fruit. It makes a lovely crisp, especially mixed with a tart apple like Granny Smith.

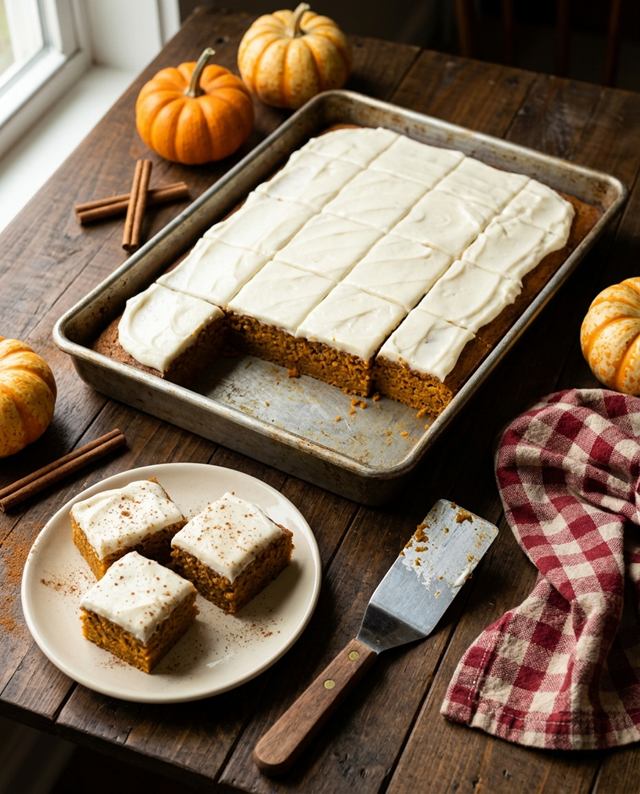
A sheet pan of pumpkin bars with thick cream cheese frosting cut into squares, a few served on a plate.

Recipe · Feeds a crowd

Pumpkin bars with cream cheese frosting

Soft, warmly spiced and topped with a thick layer of cream cheese frosting. One pan feeds a whole potluck, and they’re even better on day two.

  • Makes about 24
  • 10x15-inch rimmed pan
  • 350°F (175°C)
Show the recipeHide the recipe: pumpkin bars

Ingredients

For the bars

  • 4 eggs
  • 1⅔ cups sugar
  • 1 cup vegetable oil
  • 1 can (15 oz) pumpkin puree (not pumpkin pie filling)
  • 2 cups all-purpose flour
  • 2 tsp baking powder
  • 1 tsp baking soda
  • 2 tsp cinnamon
  • ½ tsp ground ginger
  • ¼ tsp ground cloves
  • ½ tsp salt

For the frosting

  • 8 oz cream cheese, softened
  • ½ cup (1 stick) butter, softened
  • 2 cups powdered sugar
  • 1 tsp vanilla

Method

  1. Heat the oven to 350°F (175°C) and grease the pan.
  2. Beat the eggs, sugar, oil and pumpkin until smooth.
  3. Whisk the dry ingredients together, then stir them in just until combined.
  4. Spread in the pan and bake 25 to 30 minutes, until a toothpick in the center comes out clean.
  5. Cool completely. Beat the frosting ingredients until fluffy, spread over the top and cut into squares.

Keep them covered in the fridge.

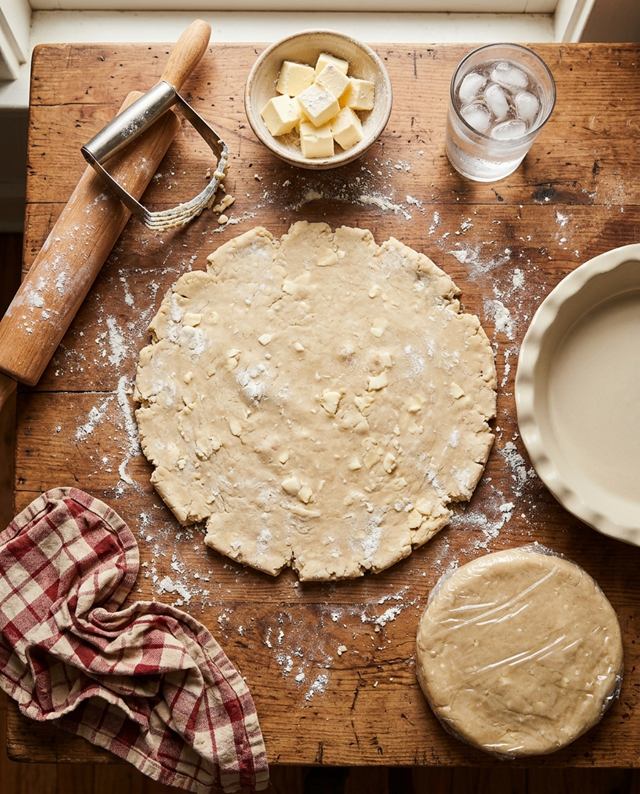
Rolled-out pie dough streaked with butter on a floured counter, with a rolling pin, a pastry blender and a bowl of cold butter cubes.

Recipe · Technique

All-butter pie crust that stays flaky

A flaky pie crust isn’t luck. It’s temperature. My grandmother’s rule was “Keep everything cold, including yourself,” and here’s what that means in practice.

  • Cold butter, cut into cubes and chilled again for 10 minutes before you start.
  • Ice water, added a tablespoon at a time. Stop as soon as the dough holds together when you squeeze a handful.
  • Pea-sized pieces of butter. In the oven they melt and release steam, and that’s what makes the flaky layers.
  • Chill the dough at least an hour. It relaxes, so the crust doesn’t shrink in the pan.
  • Bake on the lowest oven rack, so the bottom crust cooks through.
  • 1 double crust or 2 single crusts
  • Freezes up to 3 months
Show the recipeHide the recipe: all-butter pie crust

Ingredients

  • 2½ cups all-purpose flour
  • 1 tbsp sugar
  • 1 tsp salt
  • 1 cup (2 sticks) cold butter, cubed
  • 6 to 8 tbsp ice water

Method

  1. Whisk the flour, sugar and salt.
  2. Cut in the butter with a pastry blender or your fingertips until most of it is the size of peas.
  3. Sprinkle in the ice water a tablespoon at a time, tossing with a fork.
  4. Divide in two, flatten into disks, wrap and chill at least 1 hour, or freeze for up to 3 months.
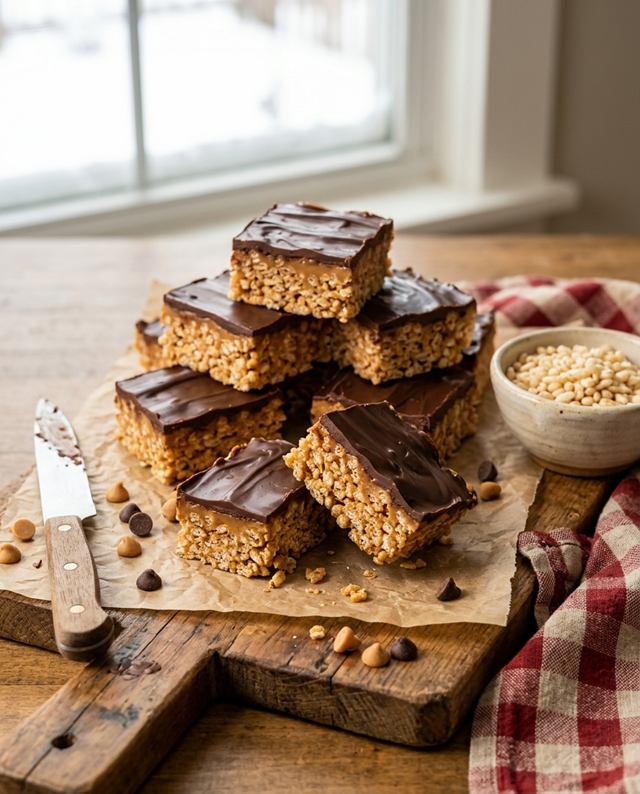
Stacked Scotcheroo bars with a glossy chocolate and butterscotch topping, one broken in half to show the crisp rice inside.

Recipe · No-bake

Scotcheroos

If you grew up in the Midwest, you know Scotcheroos: crispy peanut butter bars under a layer of melted chocolate and butterscotch. No oven, 15 minutes of work, and they show up on every holiday cookie tray I’ve ever loved.

  • Makes 24 to 36
  • 9x13-inch pan
  • No oven
Show the recipeHide the recipe: Scotcheroos

Ingredients

  • 1 cup sugar
  • 1 cup light corn syrup
  • 1 cup creamy peanut butter
  • 6 cups crisp rice cereal
  • 1 cup butterscotch chips
  • 1 cup semisweet chocolate chips

Method

  1. Butter the pan.
  2. In a large saucepan over medium heat, stir the sugar and corn syrup until the sugar dissolves and the mixture just starts to bubble. Take it off the heat right away: if it boils too long, the bars turn hard.
  3. Stir in the peanut butter until smooth, then fold in the cereal until it’s evenly coated.
  4. Press it gently into the pan. Packing it too hard makes the bars dense.
  5. Melt the butterscotch and chocolate chips together, in 30-second bursts in the microwave or over very low heat, stirring until smooth. Spread over the bars.
  6. Let them set about an hour before cutting.

December

Holiday baking

Cookie season, the Swedish way: a few of my grandmother’s traditions, and the freezer tricks that make December easier.

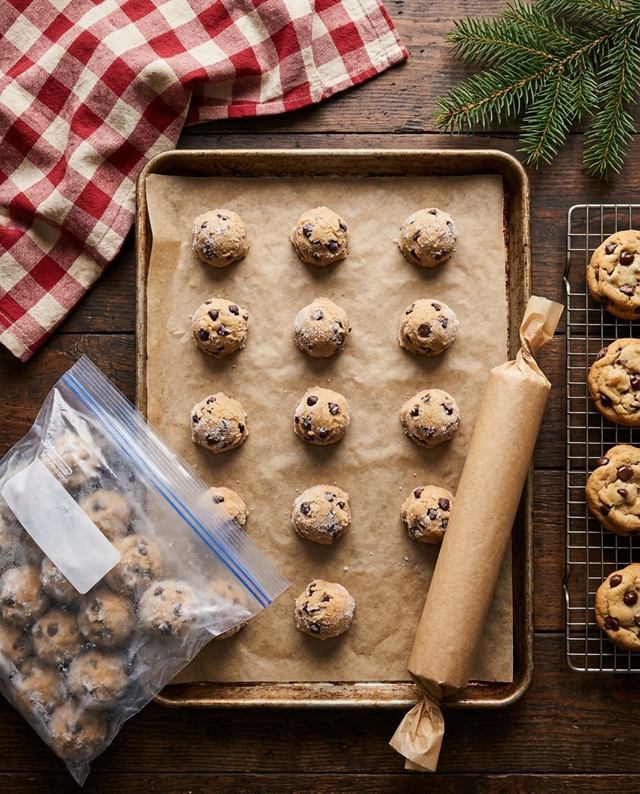
Frozen balls of chocolate chip cookie dough on a lined tray, with a freezer bag of dough balls and a wrapped log of dough.

Plan ahead

Most cookie dough freezes beautifully for up to 3 months, and the freezer is my secret weapon for the holidays. When the rush hits, fresh cookies are only 12 minutes away.

  • Drop cookies (chocolate chip, oatmeal, peanut butter): scoop the dough into balls, freeze them on a tray until firm, then move them to a freezer bag. Bake straight from the freezer, adding 1 to 2 minutes.
  • Cut-out cookies (sugar cookies, gingerbread): flatten the dough into disks, wrap them well and freeze. Thaw overnight in the fridge before rolling.
  • Slice-and-bake cookies: shape the dough into logs, wrap them tightly and slice straight from the freezer.
  • Label every bag with the name, the date and the oven temperature. Trust me on this one.
Thin Swedish ginger cookies shaped like hearts and stars, some outlined with white icing, on a cooling rack and in an open tin.

Recipe · Swedish tradition

Pepparkakor, Swedish ginger thins

In my grandmother’s house, December smelled like pepparkakor: thin, crisp Swedish ginger cookies. The name means “pepper cakes,” because old recipes really did include black pepper.

A Swedish tradition comes with them: set a cookie in your palm and press the center with one finger. If it breaks into three pieces, make a wish, and don’t tell anyone what it was.

  • Makes about 4 dozen
  • Chill at least 2 hours
  • 350°F (175°C)
Show the recipeHide the recipe: pepparkakor

Ingredients

  • ½ cup (1 stick) butter, softened
  • ½ cup sugar
  • ¼ cup molasses
  • 1 egg
  • 2¼ cups all-purpose flour
  • 1 tsp baking soda
  • 2 tsp ground ginger
  • 2 tsp cinnamon
  • 1 tsp ground cloves
  • ½ tsp ground cardamom
  • ¼ tsp salt
  • A pinch of black pepper (optional, but traditional)

Method

  1. Beat the butter and sugar until fluffy. Beat in the molasses and the egg.
  2. Whisk the dry ingredients together and stir them in to make a firm dough.
  3. Divide in two, flatten into disks, wrap and chill at least 2 hours, or overnight.
  4. Heat the oven to 350°F (175°C). Roll the dough very thin, about ⅛ inch, on a floured surface, and cut into hearts and stars.
  5. Bake on parchment-lined sheets for 7 to 9 minutes, until slightly darker at the edges. They crisp up as they cool.
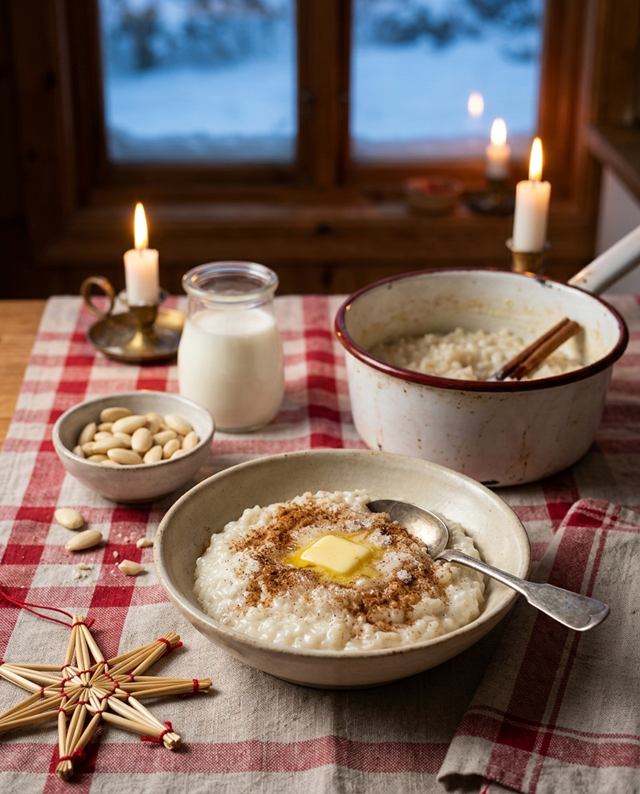
A bowl of creamy Swedish Christmas rice pudding sprinkled with cinnamon sugar, with a small dish of whole almonds and a pot beside it.

Recipe · Christmas Eve

Swedish Christmas rice pudding and the hidden almond

In my grandmother’s house, Christmas Eve ended with a bowl of rice pudding and a little bit of suspense. Somewhere in the pot was one whole almond. Old Swedish tradition says whoever finds it will be married within the year. In our family, it simply meant you got the last cookie in the tin, which was taken just as seriously.

  • Serves 6
  • About 1 hour on the stove
Show the recipeHide the recipe: Swedish Christmas rice pudding

Ingredients

  • 1 cup short-grain rice, such as arborio
  • 1 cup water
  • 1 tbsp butter
  • ½ tsp salt
  • 1 cinnamon stick
  • 4 cups whole milk
  • 1 to 2 tbsp sugar (optional)
  • 1 whole blanched almond

Method

  1. In a heavy pot, bring the water, butter, salt, rice and cinnamon stick to a boil. Simmer about 10 minutes, until the water is absorbed.
  2. Add the milk and bring it to a gentle simmer. Cover and cook on low for 40 to 50 minutes, stirring often so it doesn’t stick, until thick and creamy.
  3. Stir in the sugar, hide the almond and serve warm, with cinnamon sugar and a splash of cold milk.

Leftovers become ris à la Malta: chilled rice pudding folded with whipped cream and served with orange segments.

Tell everyone at the table that there’s an almond to look for, and leave it out if anyone has a nut allergy or if small children are eating.

A large tray of homemade Christmas cookies: spritz wreaths and trees, raspberry thumbprints, frosted cut-out stars and ginger thins.

Family tradition

My December cookie lineup

In my house, December cookie season has a few non-negotiables:

  • Spritz cookies, pressed into little wreaths and trees. My grandmother’s tin was full of them every December.
  • Pepparkakor, in her honor (the recipe is above).
  • Raspberry thumbprints, for my husband.
  • Frosted cut-out sugar cookies, which my grown kids still insist on decorating when they come home.

Baking basics

Kitchen know-how

Small habits that fix most baking problems before they start.

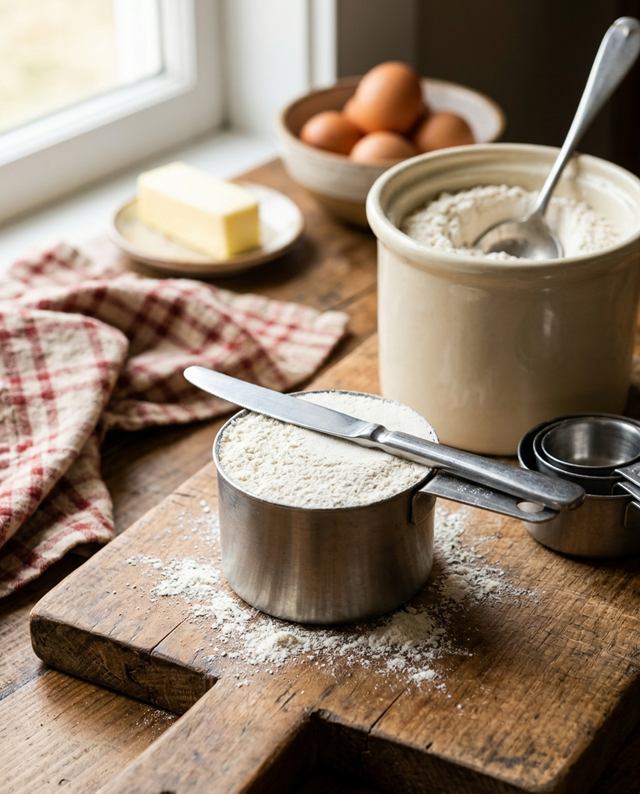
A metal measuring cup of flour leveled with a butter knife on a wooden board, next to a crock of flour with a spoon.

Baking basics

How to measure flour, and the most common baking mistake

When you dip the measuring cup straight into the bag, you pack the flour down. You can end up with as much as 25% more flour than the recipe needs, and that’s how cookies turn out dry, cakes come out dense and bread feels like a brick.

The fix takes 10 seconds

  1. Fluff the flour in its container with a spoon.
  2. Spoon it into the measuring cup until it’s heaped.
  3. Sweep off the extra with the back of a knife. No tapping, no packing.

Even better, use a kitchen scale. One cup of all-purpose flour, spooned and leveled, weighs about 120 to 125 grams, and a scale takes the guesswork out completely. (Brown sugar is the one thing you do pack into the cup.)

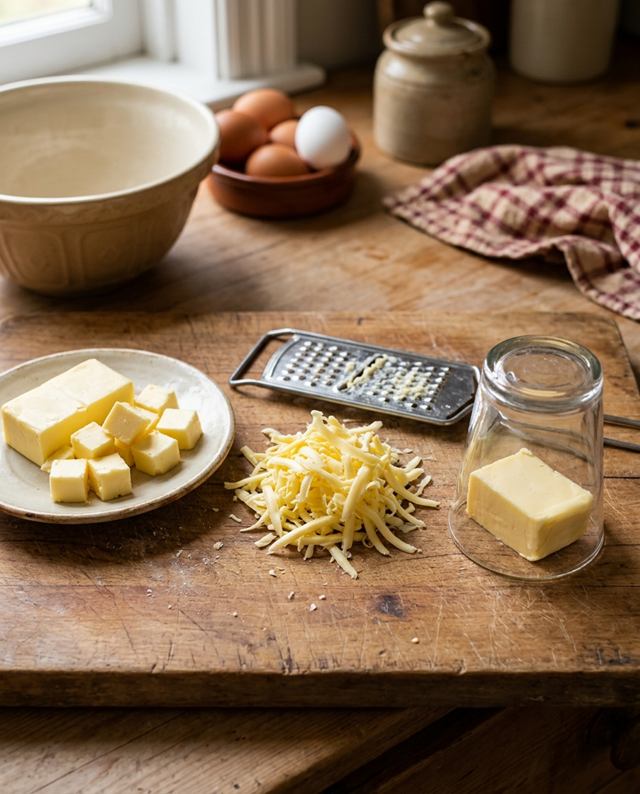
Three ways to soften butter on a wooden board: cut into cubes, grated next to a box grater, and covered with an upturned glass.

Baking basics

Three quick ways to soften butter

When a recipe says “softened butter,” it means about 65°F (18°C): still cool to the touch, but your finger leaves a dent when you press it. Any softer and your cookies will spread.

  1. Cut it into small cubes. They soften in 15 to 20 minutes instead of an hour.
  2. Grate it, cold, on a box grater. Ready in a few minutes.
  3. Use a warm glass. Fill a tall glass with hot water, let it sit a minute, pour the water out and dry it. Turn the warm glass over the stick of butter and wait about 10 minutes.

The one I skip: the microwave. It always melts one side before the middle softens.

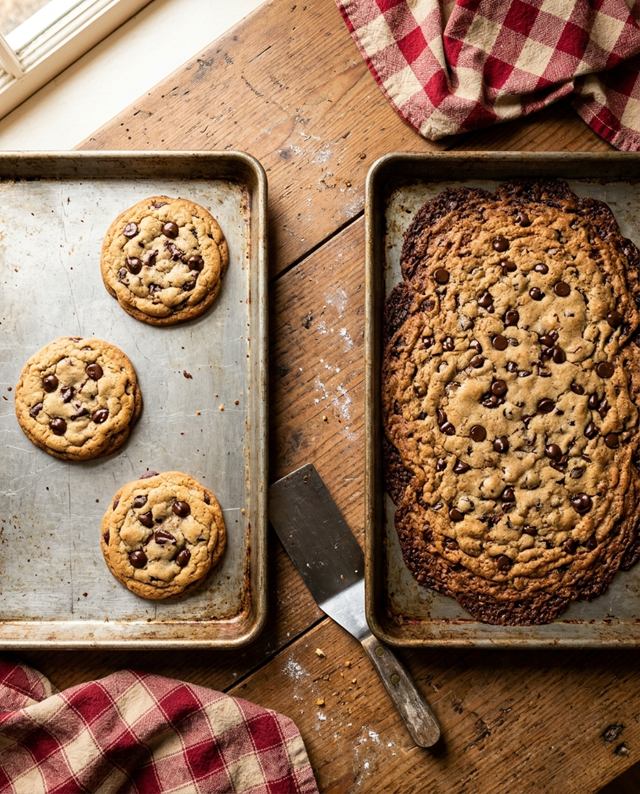
Two baking sheets side by side: thick, round chocolate chip cookies on one and thin cookies that spread too much on the other.

Troubleshooting

Why cookies spread, and how to stop it

Cookies spread into one giant pancake? Here are the usual suspects.

  • Butter that’s too soft or melted. “Softened” means cool and dentable, around 65°F (18°C). Here’s how to get there quickly.
  • Dough that wasn’t chilled. Even 30 minutes in the fridge firms up the butter and helps the cookies hold their shape.
  • Warm or greased baking sheets. Let pans cool between batches, and use parchment paper instead of greasing.
  • An oven that runs cool. The butter melts before the cookie sets. An inexpensive oven thermometer will tell you the truth.
  • Too little flour, or a butter-flavored spread in place of real butter. Spreads contain more water.

And if your cookies come out puffy and dry instead? It’s usually the opposite problem: too much flour, often scooped straight from the bag. Here’s how to measure it.

From Grandma’s recipe box

Stories

The people, the kitchens and the Midwest habits behind the recipes.

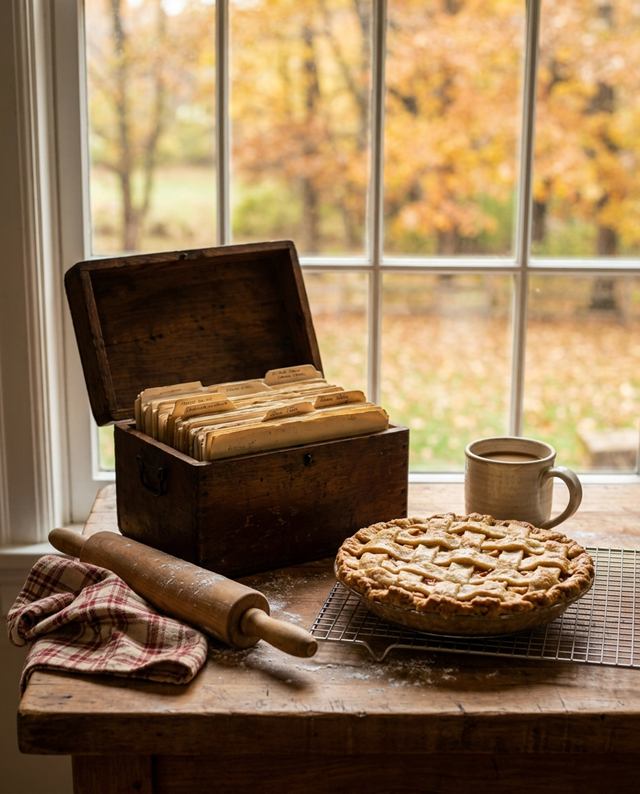
An old wooden recipe box full of worn index cards on a kitchen counter, beside a lattice-top apple pie.

Where it all starts

Every recipe here starts in a little wooden box

I grew up in Eau Claire, Wisconsin, baking next to my Swedish grandmother. She never measured anything, and her recipe cards prove it: butter stains, pencil notes, and instructions like “flour, enough” and “bake until it smells right.”

These days I turn those cards into recipes anyone can follow, in my own kitchen in Stillwater, Minnesota.

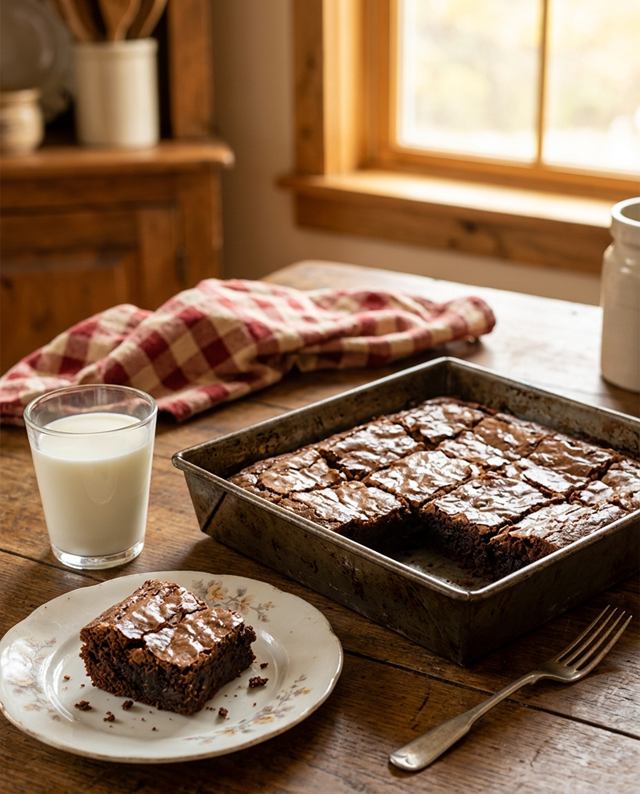
Homemade brownies in an old square pan, with one on a small flowered plate beside a glass of milk.

Lessons

The brownies I forgot the sugar in

The first thing I ever baked by myself was a pan of brownies. I was nine, and I forgot the sugar. My grandmother ate a whole piece anyway, told me they were “very interesting,” and then showed me how to read a recipe all the way through before starting.

It’s still the first thing I tell anyone who’s learning: read it twice, set everything out, then begin.

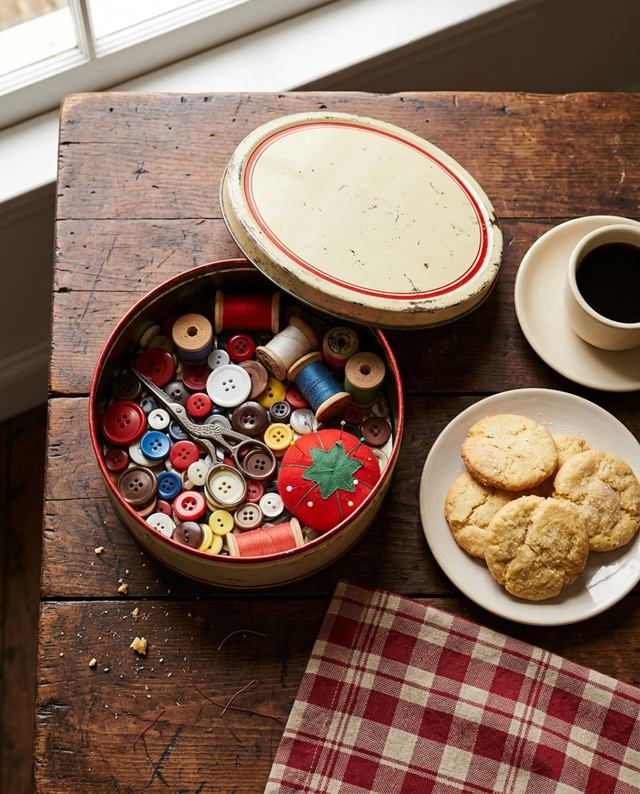
An old round cookie tin filled with buttons, spools of thread, small scissors and a red tomato pincushion.

Midwest life

You’d lift it hoping for butter cookies and find buttons, spools of thread and a pincushion shaped like a tomato.

My grandmother’s tin worked both shifts. In December it was full of spritz cookies. The rest of the year, it held every button that ever fell off a coat in our family. Its cousin, the “butter” tub in the fridge, never once had butter in it.

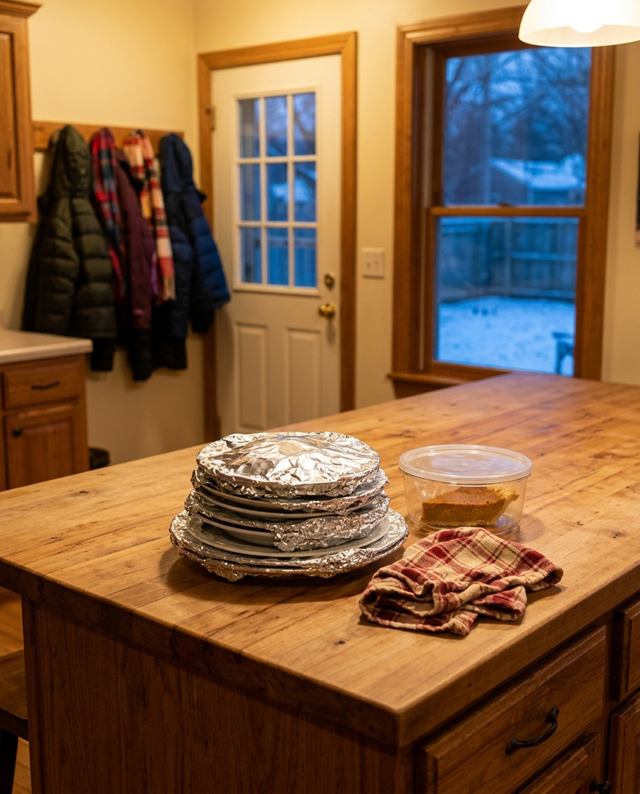
Foil-wrapped plates of leftovers stacked on a kitchen counter near the front door, ready to go home with guests.

Midwest life

The Midwest goodbye, explained

  1. Someone says, “Well, we should probably get going.”
  2. Everyone stands up. Nobody leaves.
  3. Fifteen more minutes of conversation in the kitchen.
  4. Someone remembers the leftovers. Plates get wrapped in foil.
  5. Coats go on. A brand-new conversation starts at the front door.
  6. Hugs all around. “Drive safe! Text when you get home!”
  7. One last chat in the driveway, engine running.

Total time: about 45 minutes. Leftovers: at least three plates.

Watercolor illustration of Heather Lindgren smiling, in a cream cardigan, denim shirt and red-and-white checked apron.

About the cook

Hi, I’m Heather.

I’m a home cook and baker in Stillwater, Minnesota. I grew up in Eau Claire, Wisconsin, learning to bake from my Swedish grandmother, and I taught elementary school for about 20 years. In 2019 I started sharing our family recipes, and these days you’ll usually find me in my kitchen, turning her butter-stained recipe cards into recipes anyone can follow.

The Heartland Daily is where those recipes live: easy, from-scratch Midwest comfort food, pans of bars, pies, breads and plenty of cookies.

  • Stillwater, Minnesota
  • Grew up in Eau Claire, Wisconsin
  • Sharing family recipes since 2019

About the images: the photographs on this site are AI-generated illustrations made for these recipes, and my portrait is a watercolor illustration. They are not photos of my kitchen or my food.

What should I cook next?

A Christmas cookie you’ve always wanted to master, a family favorite you’ve lost the recipe for, or a winter supper you’d like to make easier? Send it in. Reader questions shape what comes next.

heather@theheartlanddaily.com